Projects
[Note: All of these pictures are actually larger than
shown.
If you open the pictures individually, you can see them in a larger
format.
I'm going to replace these with images from my new camera, which will
have
better color and higher resolution. Also, there will eventually
be
a lower resolution "thumbnail" picture, and a higher resolution image
you
can get by "clicking" on the image. Creating this sort of 'user
interface'
isn't hard, but it is time consuming.]
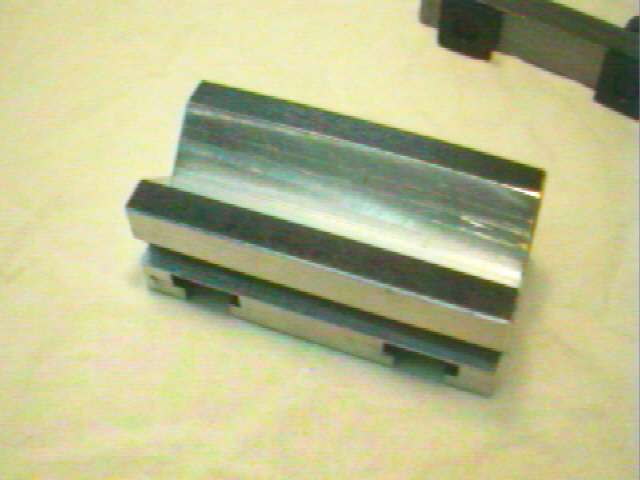

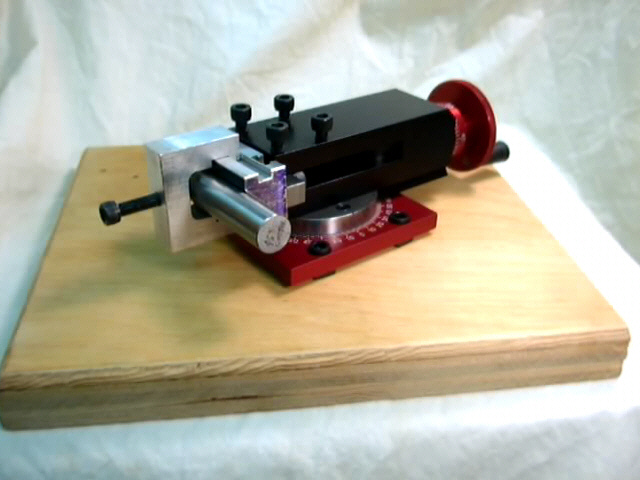
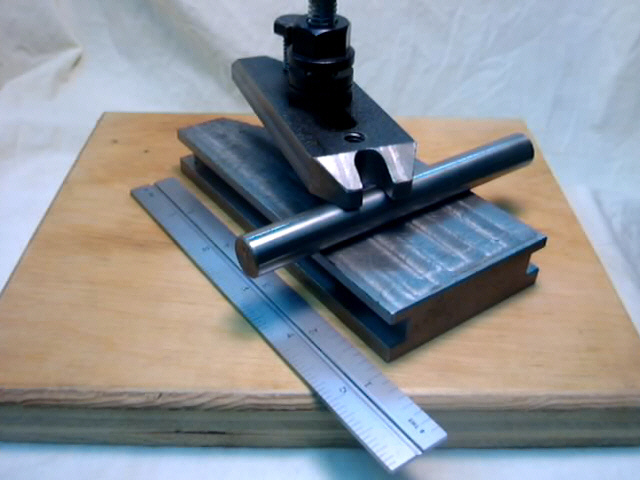
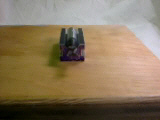
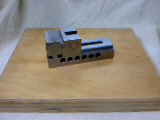
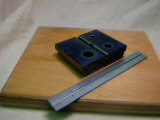
This little V-block was inspired by need. I wanted to cross
drill a hole in a boring bar, and I couldn't figure out how to
accurately
center the hole. I happened across a similar
design that uses a V-block mounted to the lathe compound.
However,
that design required the accurate machining of the V in at the proper
height.
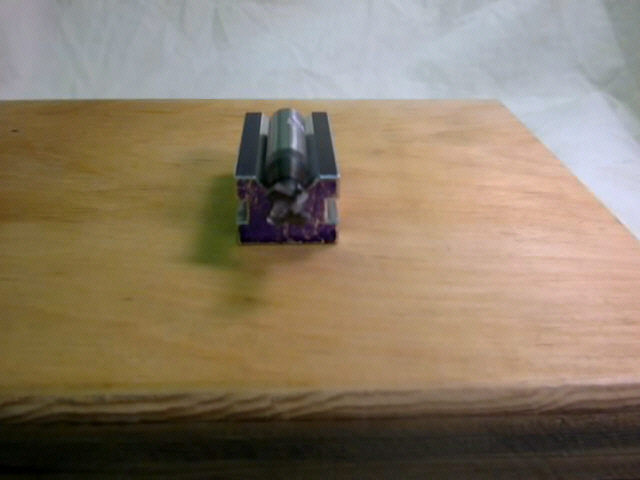
I couldn't do this because I didn't have a way to mill the V. The
way I accomplished this is by tilting the V block blank at a 45 degree
angle, and then milling the V as shown. Then, I cut T-slots in
the
back to clamp a piece of square stock. This piece is held in the
Sherline compound tool rest as shown. The T-slots allow the
height
of the V-block to be adjusted.
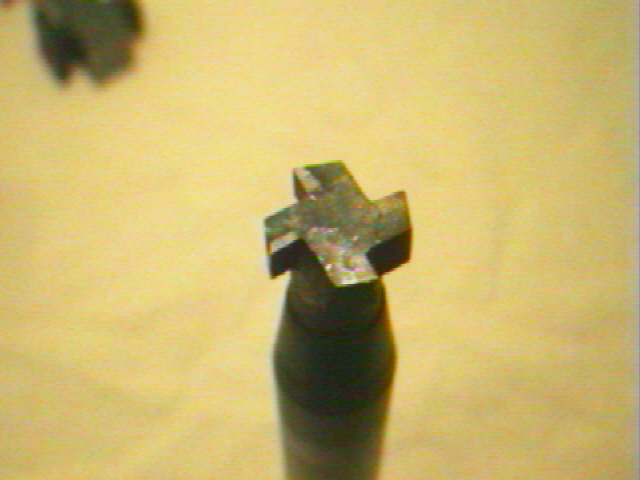
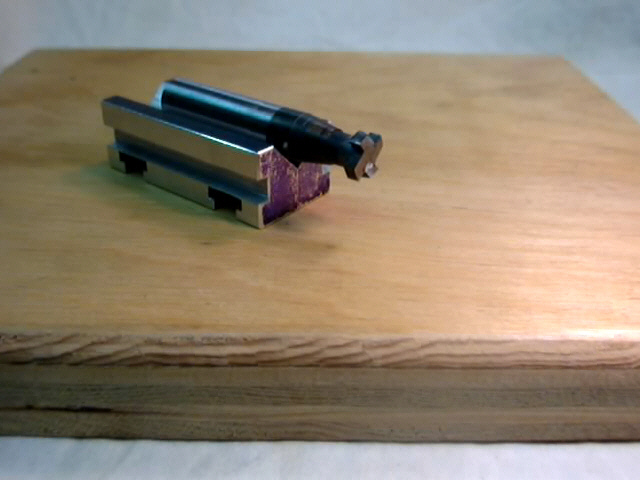
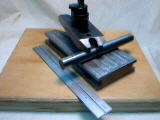
I made this little T-slot mill by following instructions found
in The Shop Wisdom of
Frank McClean. First I turned a piece of 1/2" OH drill rod down
a bit, and created a disk on the end. Then, I filed the teeth by
hand. It worked much better than I thought it would. The
dimensions
are correct to reproduce Sherline
style T-slots.
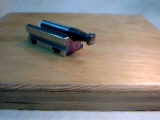
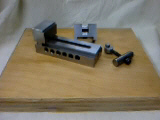
To align the V-block, you first mount a round, straight saft
between
centers. Next, you snug the V up against the shaft, and then
tighten
things down. Now it is a simple matter to swing the compound
around
to any desired angle for cross drilling.
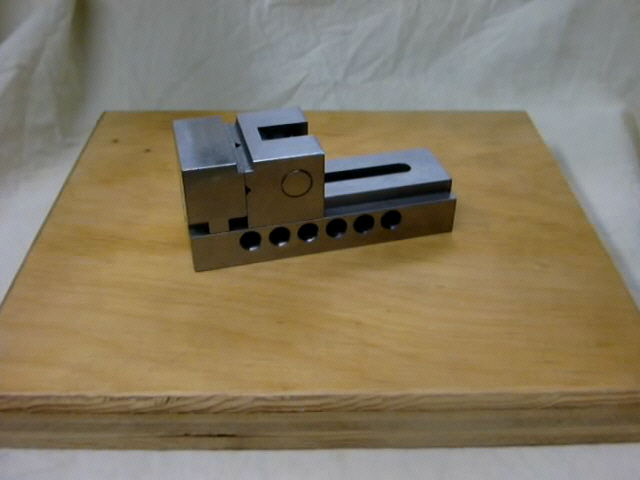
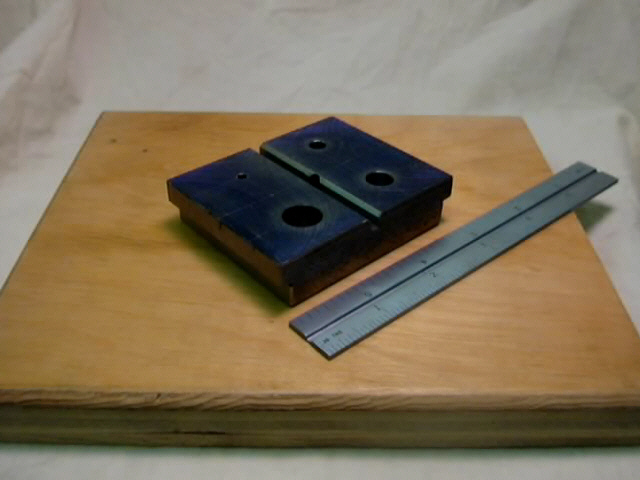
I really got ambitious with this project. Its a small milling
vise made out of some really ugly scrap cut offs from the local scrap
yard.
I polished it up by rubbing it on silicon carbide sand paper backed up
by a piece of glass. I'm not sure just how flat it is, but it
sure
is pretty. I didn't know that metal that started out looking so
ugly
could look so beautiful when finished. By the way, I've never
used
it.
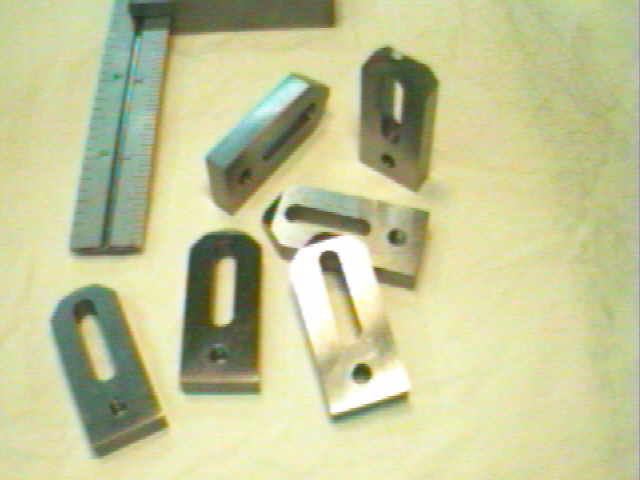
In another fit of ambition, one night I carved these six little
hold down clamps from a stray piece of 1/4" steel I had lying
about.
Why six? Well, that how much metal I had. I polished these
up using the sandpaper-on-glass technique (which I think I saw in one
of
Rudy Kouhoupt's books). They may not be flat, but boy do they
shine!
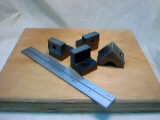
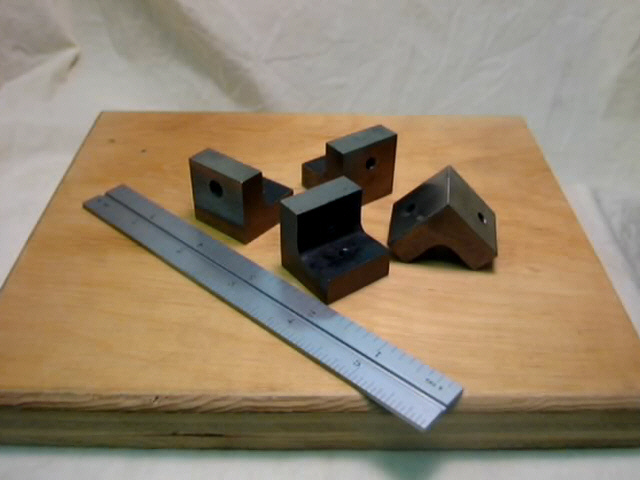
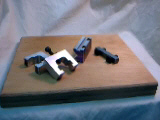
These are handy little things. They are 1x1x1" cast iron
angle blocks that I bought at Kitt's Industrial Tools. I modified
them with a 10-32 threaded hole in one face, and a 10-32 clearance hole
in the other. They are for mounting things on Sherline equipment.
This small bench block was fashioned from another ugly piece of
scrap metal that I had been pounding on for several years. One
day
I decided to elevate its status. It's still a work in progress,
and
I do consider it somewhat sacrificial, depending on the needs of the
project
I happen to be working on.
Here is another vise that I've been working on. This I
actually
use and abuse. It is loosely patterned after the finger vise
design
found at the end of Frank McClean's book.
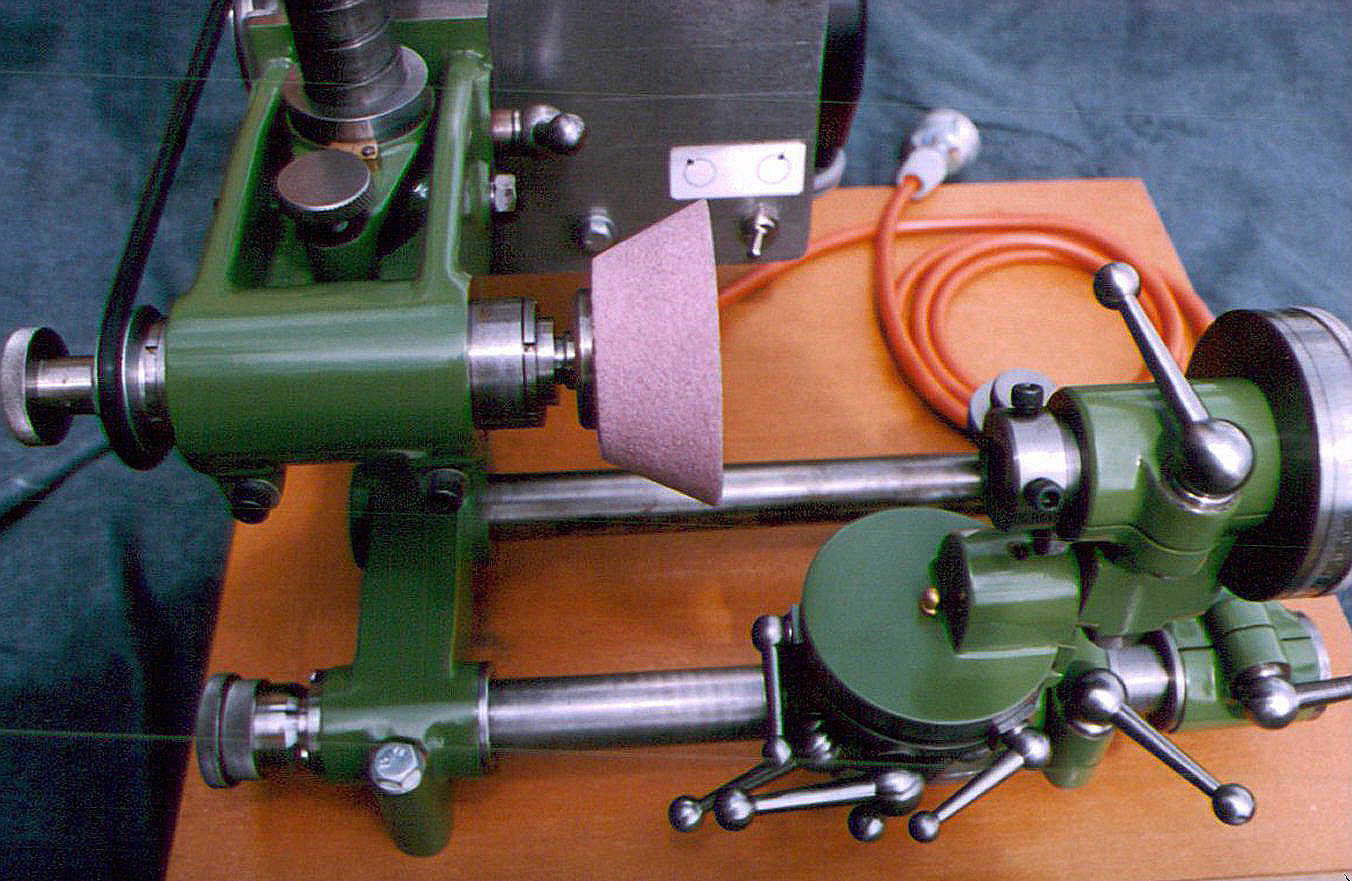
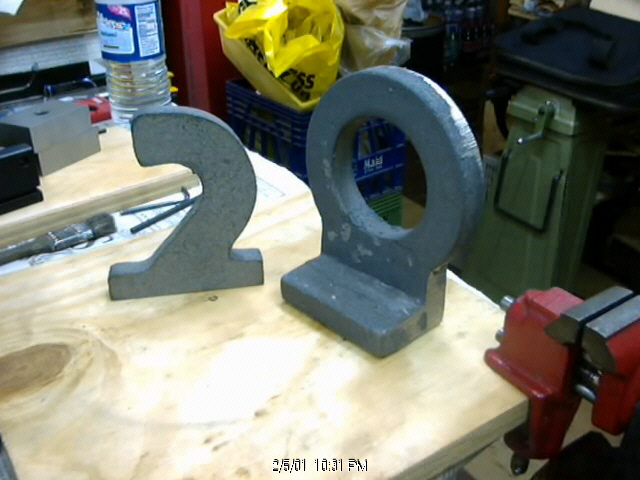
The Quorn
Well, at least I wish it looked like this. Click on the
image
to see what mine looks like.
(This is actually from Chris
Heapy's web site.)
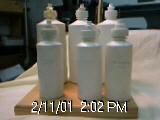
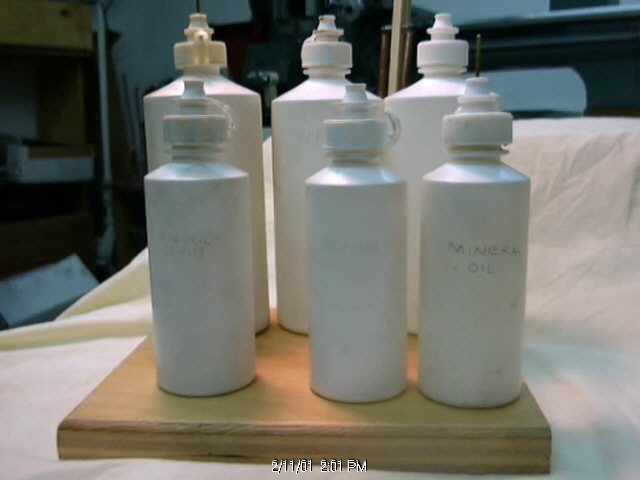
Being consigned to a life with corrective lenses, I tend to
accumulate
these plastic bottles. They originally contained saline solution
for my contact lenses. If you know anyone who uses this stuff,
I'm
sure they would be more than happy to supply you with a few
gross.
I used the ubiquitous carbide scribe to scratch the name of the
contents
into the plastic. Ever present black oily dirt fills in the
scratches
so that you can read the labels.
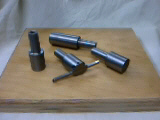
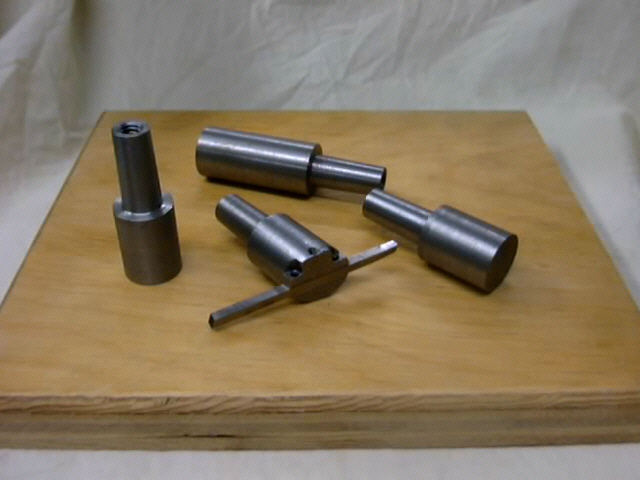
I wanted a flycutter for my Sherline mill, so I set up the lathe
to make the MT1 tapers. While I had it all set up, I figured that
it would be a good idea to machine a couple of extra blanks for some
future
use.
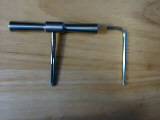

After purusing Guy Lautard's Machinist's Bedside Reader,
I took his advice and made the small tap wrench he wrote about starting
on page 35. I didn't do it exactly the same way he did,
though.
I made the body pretty much the same, but the arms are equal in
length.
I machined the basic form from a chuck of 1/2" round stock of unknown
lineage.
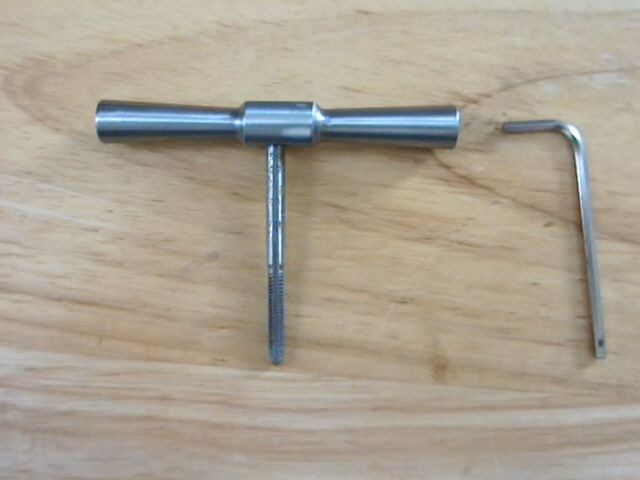
I used the compound tool rest to cut both of the tapers. Next, I
drilled a 1/8" hole in the right end about half way through, ending
about
where the cross drilled hole would later be added. I enlarged the
hole to tap for a 10-32 thread about 3/4" deep. After this, I cut
the machined part off, reversed it in the lathe (held by the
yet-to-be-machined
center portion), to machine the cut off end. I cheated and used a
metal cutting band saw to do the parting. If you decide to use a
hack saw in the lathe, be sure to protect the lathe ways from any
accidental
slip. When I first got my lathe, I made this mistake. Now I
am forever reminded of my naiveté every time I see the nicks in
the lathe bed. Also, I think I actually did skim the rust off of
the centeral portion of the tap wrench blank. So when I say
"yet-to-be-machined
center portion", I mean that the hole has not yet been drilled, and the
flats have not been milled.
I cut a short length of 1/8" drill rod to use as the ram.
I did take the time to harden the end that will press up against the
tap
so that it would not mushroom. My first version had a 90 degree V
filed in the end. Two problems with that. First it tended
to
rotate with the screw. Second, one time, it cracked at the point
of the V. The latest version is just machined flat. This
seems
to work just fine. The screw is merely a 10-32 set screw.
Lautards
version, and indeed the Starrett version both have knurled
screws.
I figured that the minor inconvenience of having to use an Allen wrench
outweighed the effort in machining a knurled thumb screw.
Besides,
you can exert an impressive amount pressure on the tap wrench with that
little set screw.
One note: I later bought a Starrett version of this tool
from
Kitt's Industrial Supply for about $10. If you are looking for a
learning exercise project that makes something useful, this is a great
one. I you just simply need the tool, well, $10 really isn't bad.
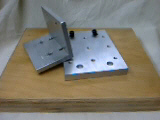
Here are a couple of other accessories I made for the Sherline
lathe. The angle plate in the upper left corner is made from a
piece
of 1/4" aluminum angle. Holes of the correct size and spacing
were
drilled to finish it. The second item is a 3/8" thick piece of
aluminum
that mounts on the lathe cross slide table. The Sherline lathe
cross
slide table lacks rigidity, so if you are planning on doing any between
centers boring, you will might need something like this small tooling
plate.
These are the steady and follower rest castings for the 7x10
that
I received from Mert Baker. Sorry to say, I haven't done much
with
them yet.

...and here is George Bush. I threw this in because I
liked
the picture.
w.j.ward
February 25, 2001
(My
application to Star Fleet Acadamy is in the mail.)